Unlock the Golden Goodness: Mary Berry's Easy No-Pectin Apricot Jam Recipe
Imagine the vibrant taste of summer sunshine captured in a jar, ready to brighten your morning toast or elevate your afternoon tea. That's the magic of homemade apricot jam, and when it comes to timeless, foolproof recipes, Mary Berry's stands as a true classic. This isn't just any apricot jam recipe; it's a testament to simplicity, relying on just a handful of natural ingredients to create a gloriously golden, naturally sweet, and tangy preserve.
For many, the mention of homemade jam might conjure images of complicated processes or obscure ingredients like commercial pectin. But Mary Berry, the queen of baking and preserving, shows us how effortlessly delicious jam can be. Her method celebrates the apricot's natural pectin content and inherent flavour, requiring no extra setting agents. Whether you're a beginner eager to try your hand at preserving or a seasoned jam maker looking for a dependable, naturally delicious approach, this Homemade Apricot Jam: Naturally Sweet, Golden & Versatile recipe is destined to become a staple in your kitchen.
Why Mary Berry's Apricot Jam Recipe Is a Must-Try
What makes this particular apricot jam recipe so universally cherished? It boils down to its elegant simplicity and the exquisite results. Unlike many commercial jams that can be overly sweet or lack authentic fruit flavour, Mary Berry's version shines with the true essence of apricots. It strikes a beautiful balance between sweetness and a delightful tang, creating a bright, fruity profile that's incredibly versatile.
- Naturally Set, No Pectin Needed: The secret lies in the apricots themselves, which contain enough natural pectin to set the jam beautifully, aided by a touch of lemon juice. This means a more natural flavour and fewer ingredients.
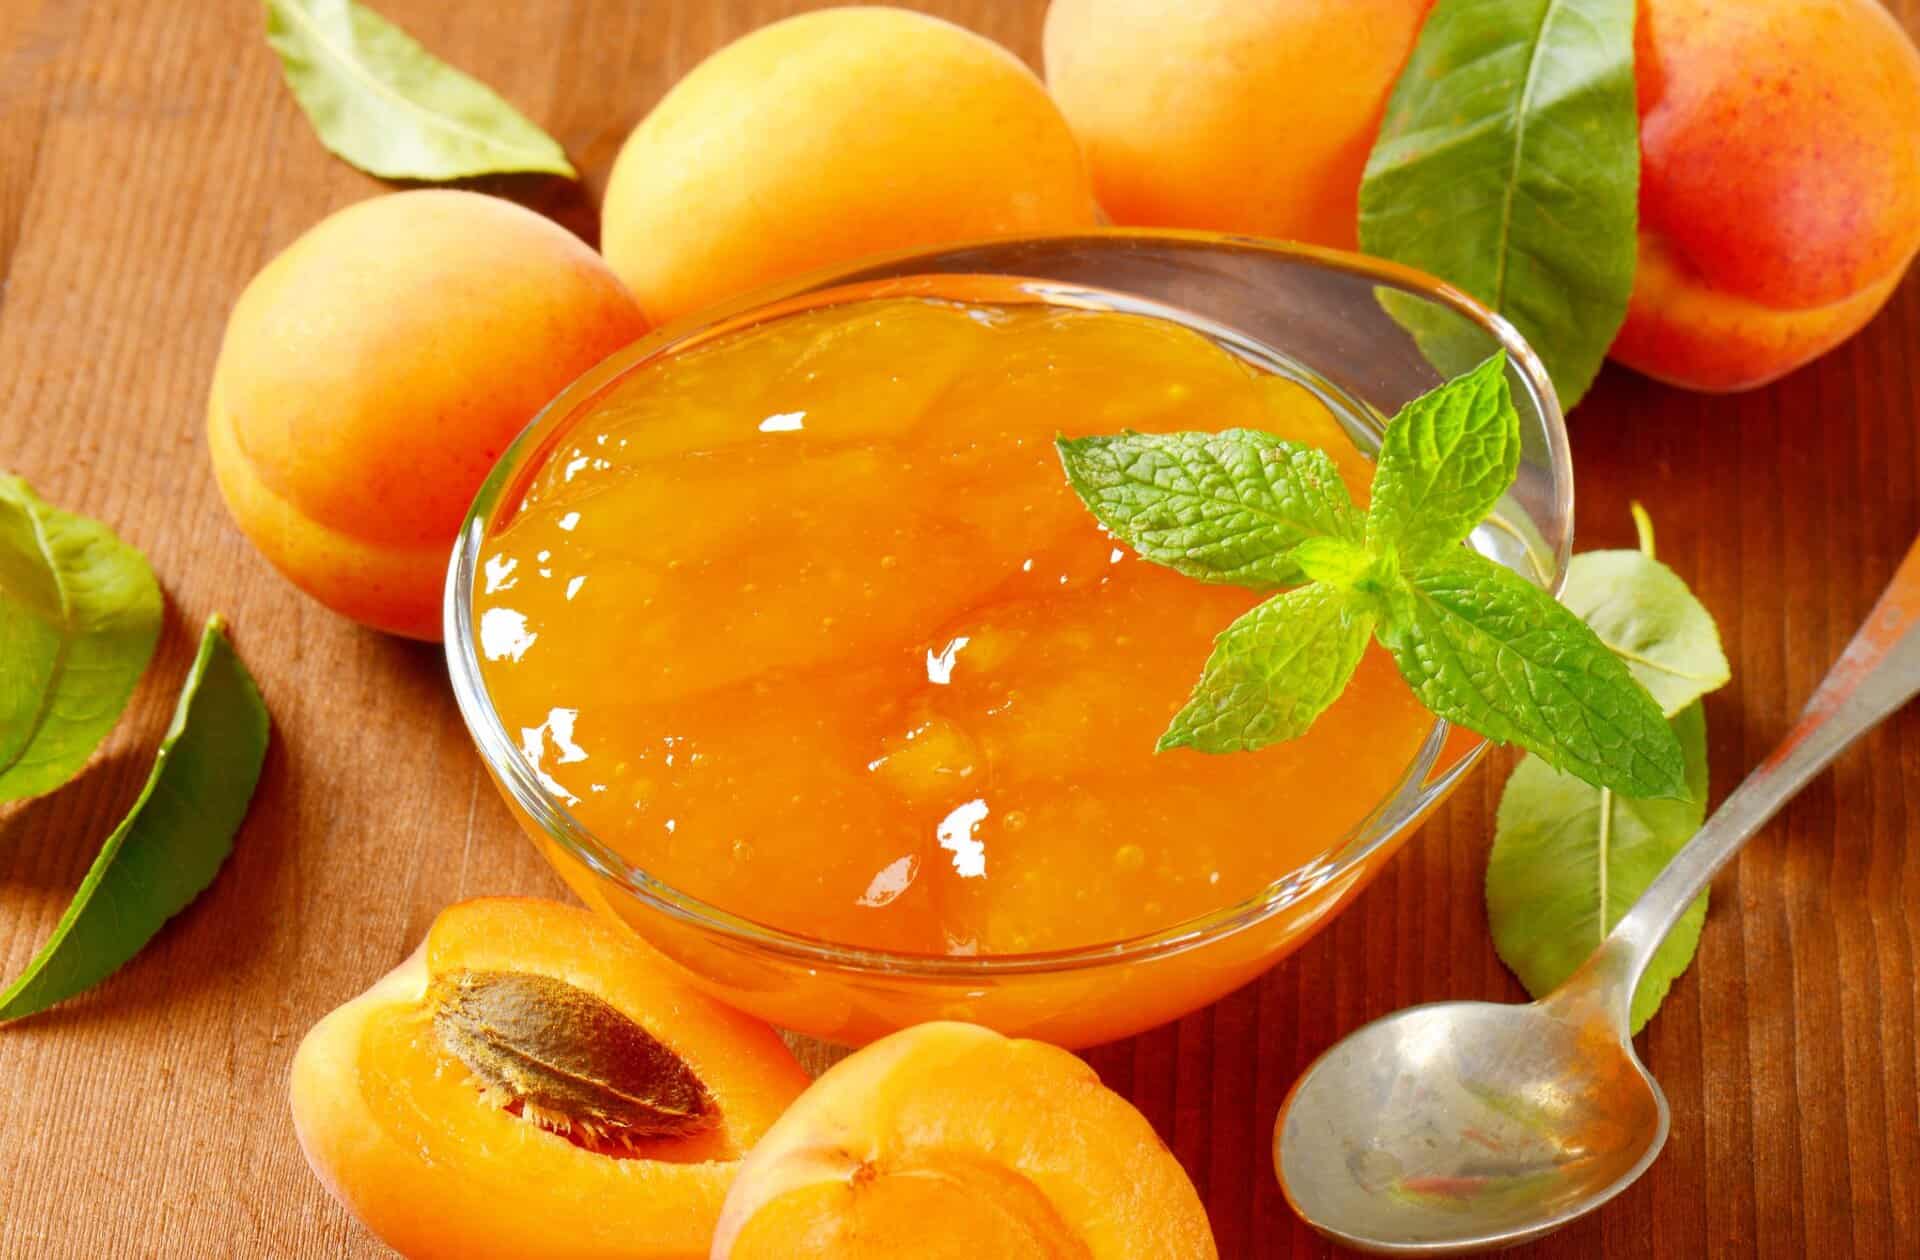
- Golden Hue: The jam boasts a stunning golden colour, making it as appealing to the eye as it is to the palate. This vibrant colour is a hallmark of perfectly cooked apricot jam.
- Incredibly Versatile: From breakfast spreads to dessert fillings and even savoury pairings, this jam proves its worth far beyond the breakfast table.
- Beginner-Friendly: With clear steps and Mary Berry's signature approachable style, even first-time jam makers can achieve spectacular results.
The Essential Ingredients for Your Golden Apricot Jam
Crafting this delightful jam requires very few components, each playing a crucial role in the final product's flavour, texture, and set.
If Using Fresh Apricots:
- Ripe Apricots (1kg / 2.2 lbs): Halved, pitted, and chopped. Choose apricots that are ripe but firm, with a slightly soft yield when gently squeezed. Their natural sweetness and pectin are key.
- Granulated Sugar (1kg / 5 cups): An equal weight to the fruit. Sugar not only sweetens the jam but also acts as a preservative and helps with the setting process.
- Lemon Juice (2 tbsp): Essential for two reasons: its acidity helps extract natural pectin from the fruit, ensuring a good set, and it brightens the overall flavour, cutting through the sweetness.
- Water (150ml / ½ cup): Used to help soften the apricots at the beginning of the cooking process and prevent them from sticking to the pan before they release their own juices.
If Using Dried Apricots (a delightful variation):
Dried apricots offer a wonderful option, especially when fresh ones are out of season. They produce a deeper, more concentrated flavour.
- Dried Apricots (500g / 1.1 lbs): Good quality, unsulphured dried apricots will yield the best flavour and colour.
- Water (1 liter): For soaking and rehydrating the dried fruit before cooking.
- Granulated Sugar (1kg / 5 cups): Same quantity as for fresh apricots, maintaining the preserve's sweetness and consistency.
- Lemon Juice (2 tbsp): Still crucial for set and flavour balance.
Essential Equipment for Jam Making Success
Having the right tools makes the process smoother and safer.
- Heavy-Bottomed Saucepan or Preserving Pan: A wide, shallow pan is ideal as it allows for quicker evaporation, reducing cooking time and preserving fruit flavour. The heavy bottom prevents sticking and scorching.
- Wooden Spoon: For stirring, preventing sticking, and testing the jam's texture.
- Jam Thermometer (Optional but Recommended): Provides an accurate reading for the setting point (105°C / 220°F), taking the guesswork out of the process.
- Sterilized Glass Jars with Lids: Crucial for safe, long-term storage. Always sterilize your jars thoroughly just before filling.
- Funnel & Ladle: For mess-free filling of hot jam into jars.
- Small Plate (Chilled): For the wrinkle test, a traditional and reliable method for checking the jam's set.
Step-by-Step Guide to Crafting Mary Berry's Apricot Jam
Follow these detailed steps to achieve perfect, golden apricot jam every time.
- Step 1 – Soften the Apricots:
- For Fresh Apricots: Place the chopped fresh apricots and 150ml water in your heavy-bottomed pan. Simmer gently over medium heat for 10-15 minutes, stirring occasionally, until the apricots are beautifully soft and starting to break down. This initial cook helps release their natural pectin.
- For Dried Apricots: Soak the dried apricots in 1 liter of water overnight. The next day, place the soaked apricots (and their soaking water) in the pan and simmer for about 20 minutes until they are very tender and plump. This rehydrates them fully and prepares them for jam making.
- Step 2 – Add Sugar & Lemon: Once the apricots are soft, stir in the granulated sugar and lemon juice. Heat the mixture gently, stirring continuously, until all the sugar has completely dissolved. You'll know it's dissolved when the mixture looks clear and no sugar granules are visible on the spoon or sides of the pan. Do not rush this step; undissolved sugar can lead to a grainy texture.
- Step 3 – Boil to Setting Point: Increase the heat to bring the jam to a rapid, rolling boil. Maintain this rapid boil for 15-20 minutes, stirring frequently, especially towards the end, to prevent sticking and burning. This is where the magic happens as the pectin activates and the water evaporates.
- Using a Thermometer: The ideal setting point is 105°C (220°F). Keep a close eye on the temperature.
- The Wrinkle Test (Traditional Method): Place a small spoonful of hot jam onto a chilled plate. Let it sit for 30 seconds, then push it gently with your fingertip. If the surface wrinkles, your jam is ready. If not, continue boiling for a few more minutes and re-test. This method is incredibly reliable and doesn't require special equipment.
- Step 4 – Skim & Jar: Carefully remove the pan from the heat. A layer of foam may have formed on the surface; gently skim this off using a spoon to ensure a clear, beautiful jam. Let the jam rest for about 5 minutes. This allows the fruit to distribute evenly throughout the syrup. Then, carefully ladle the hot jam into your pre-sterilized glass jars, filling them almost to the brim.
- Step 5 – Seal, Label & Store: Securely fasten the lids on the jars. As the jam cools, a vacuum seal will form, preserving your delicious creation. Once cool, label each jar with the date. Store your homemade apricot jam in a cool, dark pantry or cupboard. Once opened, always refrigerate and consume within a few weeks.
Expert Tips for Your Best Apricot Jam Yet
Making jam is a rewarding culinary art. Here are some expert insights to ensure your Mary Berry apricot jam recipe turns out perfectly every time:
- Choose Wisely: Always opt for ripe, slightly soft apricots for the best flavour and natural sweetness. Under-ripe fruit will be too tart and contain less pectin.
- Don't Overcook: While reaching the setting point is crucial, be careful not to overcook the jam. Overcooking can result in a dull flavour and a rubbery texture. Keep a close watch on the setting tests.
- The Power of Lemon: Remember, lemon juice isn't just for flavour; it's vital for setting the jam. Don't skip it! It also helps maintain that beautiful golden colour.
- Constant Stirring: Especially during the rapid boil phase, frequent stirring is essential to prevent the jam from sticking to the bottom of the pan and scorching, which can ruin the flavour.
- Test, Test, Test: Always perform a set test (wrinkle or thermometer) before taking the jam off the heat for good. A jam that hasn't set properly can be re-boiled for a few more minutes.
- Sterilization is Key: Properly sterilized jars are paramount for food safety and preventing spoilage. You can sterilize jars in a hot oven, a dishwasher on a hot cycle, or by boiling them in water. For more on preserving, explore Old-Fashioned Apricot Jam: Master the No-Pectin Method.
Beyond the Jar: Creative Ways to Enjoy Mary Berry's Apricot Jam
This versatile apricot jam recipe is far too good to be confined to just toast! Here are some delightful ways to incorporate it into your culinary adventures:
- Classic Breakfast Delight: Spread generously on warm croissants, crusty artisan bread, or fluffy pancakes and waffles.
- Afternoon Tea Perfection: Dollop a spoonful onto freshly baked cream scones, accompanied by clotted cream, for a truly British experience.
- Cake Filler Extraordinaire: It's the ideal filling for a classic Victoria sponge cake, offering a burst of fruity sweetness.
- Sweet & Savoury Pairings: Surprising as it may sound, apricot jam pairs beautifully with cheese. Try it with a creamy brie or a sharp cheddar on crackers. It can also be brushed over roast pork or chicken as a vibrant glaze, adding a touch of sweetness and shine.
- Yogurt and Dessert Topping: Swirl it into plain Greek yogurt, use it as a topping for vanilla ice cream, or layer it into parfaits.
Elevate Your Jam: Delicious Variations
While the classic recipe is sublime, Mary Berry's apricot jam provides an excellent base for experimentation. Here are a few ideas to tantalize your taste buds:
- Apricot & Vanilla Jam: Stir in ½ teaspoon of good quality vanilla extract or the seeds from half a vanilla pod just before jarring for a warm, aromatic note.
- Apricot & Orange Zest: Add the finely grated zest of one orange along with the lemon juice for an extra layer of bright citrus depth that complements the apricots beautifully.
- Spiced Apricot Jam: Infuse your jam with warmth by adding a pinch of ground cinnamon, ginger, or even a tiny dash of cardamom during the cooking process. Remove whole spices before jarring.
- Apricot & Almond Jam: A few drops of almond extract stirred in at the end can create a sophisticated, nutty undertone that pairs wonderfully with apricots.
- Chunky Apricot Jam: For those who love more texture, leave some of the apricot pieces larger or even whole after softening.
Storage and Longevity
Unopened, properly sealed jars of Mary Berry's apricot jam can last for up to a year in a cool, dark place. Once opened, store the jam in the refrigerator and consume within 2-4 weeks. Always check for any signs of spoilage before consuming, though a good seal and proper sterilization will ensure long-lasting freshness.
Conclusion: The Joy of Homemade Apricot Jam
There’s an unparalleled satisfaction that comes from making your own jam, especially when it’s as simple and delicious as Mary Berry's apricot jam recipe. From the sunny aroma filling your kitchen to the golden glow of the finished jars, every step is a delight. This no-pectin method not only simplifies the process but truly lets the natural, vibrant flavour of the apricots shine through. So, gather your ingredients, set aside an afternoon, and embark on a rewarding culinary journey. You’ll soon have jars of homemade goodness, ready to spread sunshine on any day.
