Old-Fashioned Apricot Jam: Master the No-Pectin Method for Golden Goodness
There’s a unique charm to a jar of homemade apricot jam, a vibrant golden hue that captures the essence of sunshine in every spoonful. It’s a taste that harks back to simpler times, evoking memories of grandmothers' pantries, lazy summer mornings, and comforting toast. This classic apricot jam recipe, utilizing the time-honored no-pectin method, is not just about preserving fruit; it's about preserving a little piece of culinary history. Forget complicated ingredients or unnecessary additives; this approach celebrates the natural sweetness and tangy zest of apricots, delivering a truly authentic flavour.
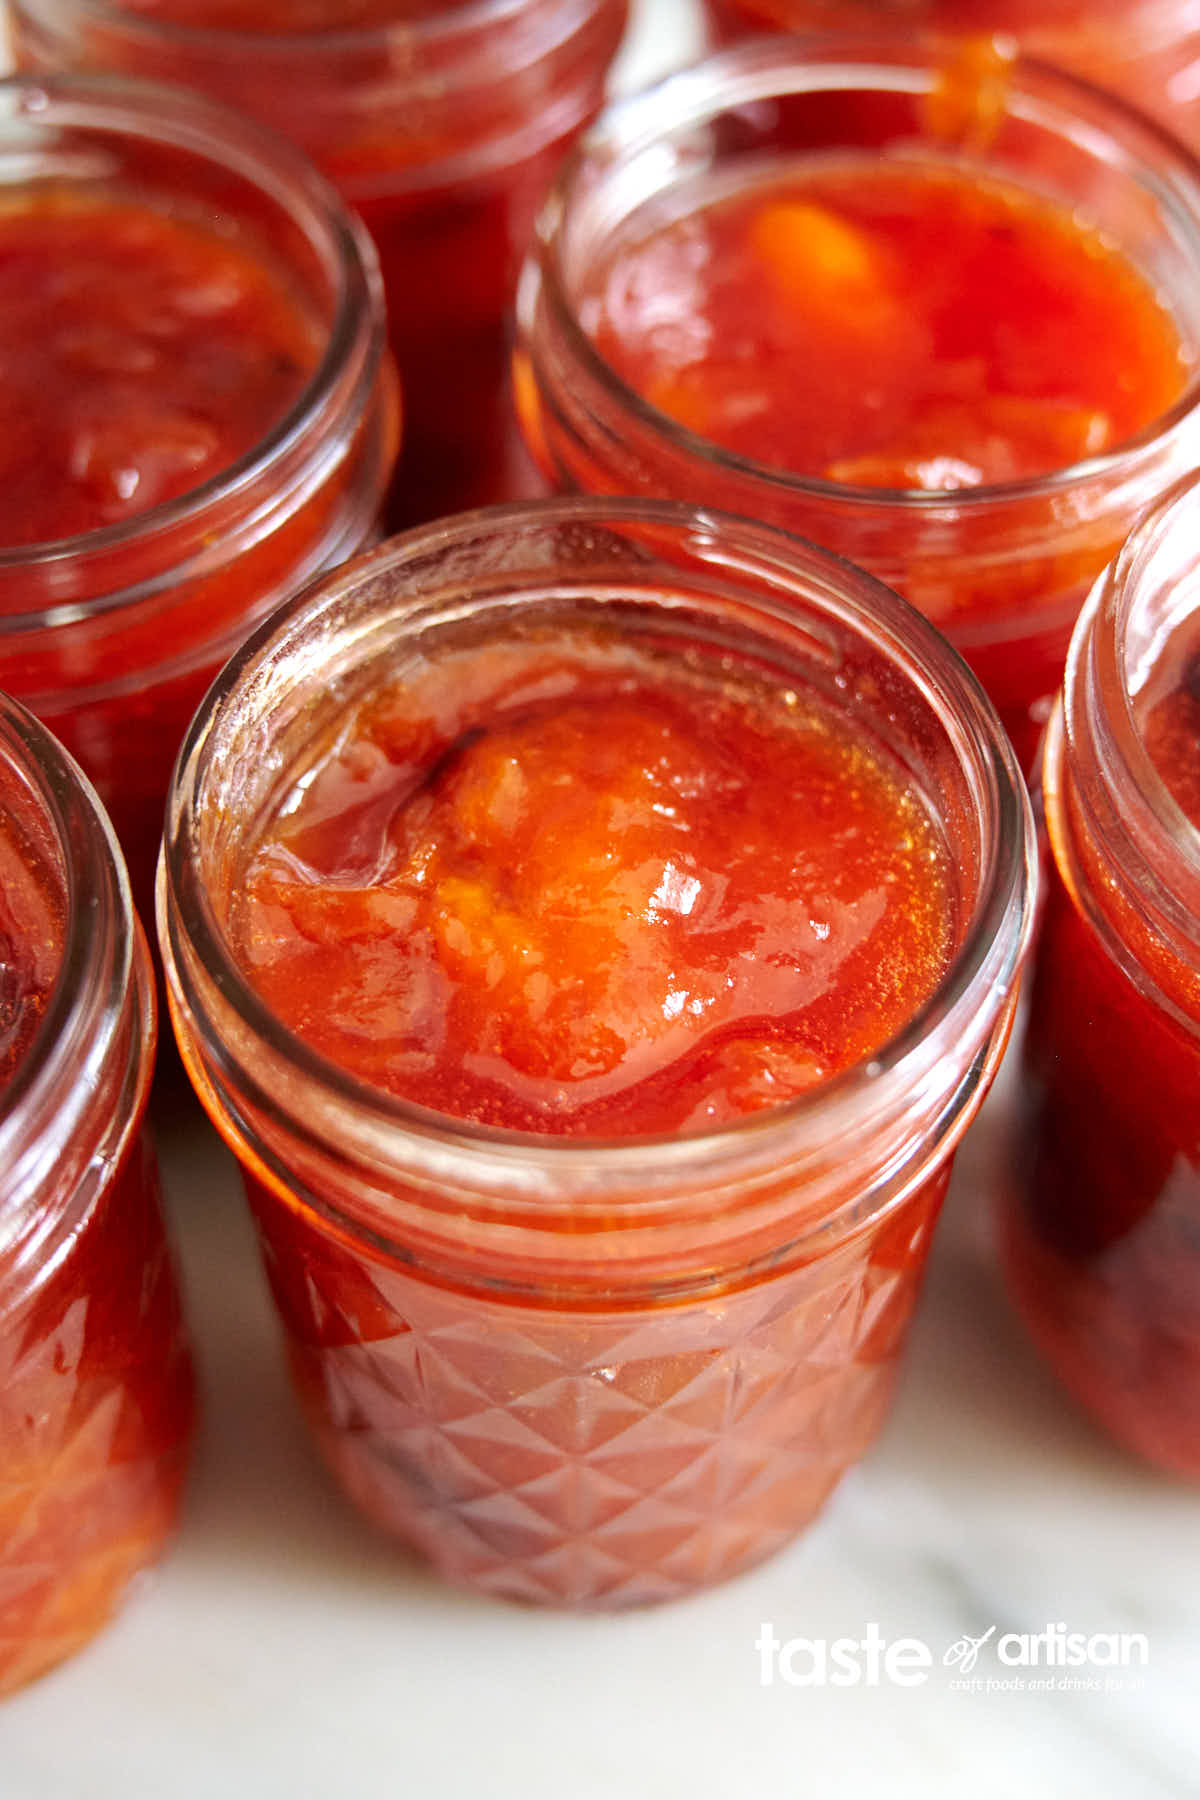
Making your own jam might seem daunting, but this old-fashioned approach is surprisingly straightforward, rewarding you with jars of glistening goodness perfect for spreading, baking, or even pairing with savoury dishes. Whether you're a seasoned preserver or taking your first delightful dip into jam-making, this guide will walk you through creating a naturally set, brilliantly flavoured apricot jam that truly stands apart.
The Magic of Apricots: Why No-Pectin is Best
One of the most appealing aspects of making apricot jam is its natural ability to set without the addition of commercial pectin. Apricots, like many stone fruits, contain a sufficient amount of natural pectin, especially when slightly under-ripe. This inherent property means you can achieve that perfect wobbly, spreadable consistency with just fruit, sugar, lemon, and a touch of water.
The lemon juice in this apricot jam recipe plays a crucial dual role. Firstly, its acidity helps to break down the cell walls of the fruit, encouraging the release of natural pectin. Secondly, it lowers the pH of the jam, which is essential for the pectin to form a stable gel. Beyond its functional benefits, lemon also provides a delightful bright tang, balancing the apricots' sweetness and preventing the jam from becoming cloyingly rich. The result is a jam that is naturally sweet, beautifully tangy, and vibrantly golden – a true testament to simple, quality ingredients.
Gather Your Golden Harvest: Ingredients and Equipment
The beauty of this homemade apricot jam lies in its simplicity. You'll need just a few core ingredients and some basic kitchen tools to transform humble apricots into a pantry staple.
Ingredients for Your Classic Apricot Jam Recipe:
- If Using Fresh Apricots:
- Ripe Apricots (1kg / 2.2 lbs): Halved, pitted, and roughly chopped. Look for apricots that are fragrant and slightly soft to the touch for optimal flavour.
- Granulated Sugar (1kg / 5 cups): An equal weight ratio to the fruit is traditional and ensures proper setting and preservation.
- Lemon Juice (2 tbsp): Freshly squeezed is always best for maximum zest and pectin activation.
- Water (150ml / ½ cup): Just enough to help the apricots soften without sticking to the pan initially.
- If Using Dried Apricots (a wonderful alternative!):
- Dried Apricots (500g / 1.1 lbs): Choose good quality, unsulphured dried apricots for the best flavour and colour.
- Water (1 litre): For soaking and rehydrating the dried fruit.
- Granulated Sugar (1kg / 5 cups): As with fresh apricots, a 1:1 ratio with the *rehydrated* fruit mass is ideal, or follow the traditional weight for consistency with the dried fruit quantity.
- Lemon Juice (2 tbsp): Essential for setting and brightness.
Essential Equipment:
- Heavy-Bottomed Saucepan or Preserving Pan: Crucial for even heat distribution and preventing sticking. A wider pan allows for faster evaporation and a quicker setting time.
- Wooden Spoon: For stirring.
- Jam Thermometer (Optional but Recommended): For precise temperature monitoring (105°C / 220°F is the typical setting point).
- Sterilized Glass Jars with Lids: Prepare these in advance. You can sterilize them by washing thoroughly in hot soapy water, rinsing, then placing them in an oven at 130°C (275°F) for 15-20 minutes, or by running them through a hot cycle in a dishwasher. Ensure lids are also clean and ready.
- Funnel & Ladle: For safely transferring hot jam into jars.
- Small Plate (Chilled): For performing the "wrinkle test." Pop it in the freezer before you start cooking.
- Skimmer or Large Spoon: To remove any foam.
The Art of Jam Making: Your Step-by-Step Guide
Patience and attention to detail are key to achieving a perfect set and vibrant flavour. Follow these steps for your best Mary Berry's apricot jam inspired results:
- Step 1 – Soften the Apricots:
- For Fresh Apricots: Place the chopped fresh apricots with 150ml water in your heavy-bottomed pan. Bring to a gentle simmer over medium heat and cook for 10-15 minutes, stirring occasionally, until the fruit is visibly softened and beginning to break down. This pre-cooking step ensures the fruit is tender before the sugar is added, which would otherwise toughen the fruit.
- For Dried Apricots: Place the dried apricots in a large bowl, cover with 1 litre of water, and let them soak overnight. This rehydrates them fully. The next day, transfer the soaked apricots and their soaking water to your pan. Simmer for about 20 minutes until they are very tender and plump.
- Step 2 – Introduce Sugar & Lemon: Remove the pan from the heat briefly. Stir in the granulated sugar and lemon juice. Return the pan to a very low heat and stir continuously until the sugar has completely dissolved. This is a crucial step; if the sugar isn't fully dissolved, your jam may crystallize. You'll notice the liquid clarify as the sugar disappears.
- Step 3 – Boil to Setting Point: Once the sugar is dissolved, increase the heat to bring the jam to a rapid, rolling boil. Maintain this vigorous boil for 15-20 minutes, stirring frequently to prevent sticking, especially towards the end.
- Using a Thermometer: The jam is likely to be ready when it reaches 105°C (220°F).
- The Wrinkle Test (The Classic Method): This is a reliable way to check the set without a thermometer. Remove the pan from the heat. Drop a small spoonful of hot jam onto a chilled plate. Let it sit for a minute, then push the edge of the jam with your fingertip. If the surface wrinkles, it means the pectin has set, and your jam is ready. If not, return the pan to a rapid boil for another 2-3 minutes and test again.
Expert Tip: Don't be tempted to stir *constantly* during the rapid boil phase, as this can impede the setting process. Stirring every minute or two is sufficient to prevent sticking.
- Step 4 – Skim, Rest & Jar: Once the setting point is reached, remove the pan from the heat. Use a clean spoon or skimmer to carefully remove any foam that has risen to the surface. This helps create a clear, beautiful jam. Let the jam rest for 5 minutes in the pan; this allows the fruit to distribute evenly throughout the jam, preventing it from all floating to the top of the jars. Ladle the hot jam into your pre-sterilized jars using a funnel. Fill them almost to the brim, leaving about ¼ inch headspace.
- Step 5 – Seal, Label & Store: Place the lids on the jars and seal them tightly. As the jam cools, a vacuum seal will often form, indicated by the lid "popping" inward. Label your jars with the date. Store your homemade apricot jam in a cool, dark place for up to a year. Once a jar is opened, refrigerate it and consume within 2-3 weeks.
Beyond the Jar: Serving Suggestions & Creative Twists
The versatility of this old-fashioned apricot jam goes far beyond just toast. Its balance of sweetness and tang makes it a fantastic culinary companion.
- Breakfast & Brunch Bliss: The most obvious, yet utterly delicious, pairing is with warm croissants, buttered toast, crumpets, or fresh-baked scones with clotted cream. Swirl it into plain yogurt or oatmeal for a touch of natural sweetness.
- Baking & Desserts: It's the perfect filling for a classic Victoria sponge cake, thumbprint cookies, or delicate tarts. Brush it over fruit pies before baking for a glossy finish, or warm it slightly and drizzle over vanilla ice cream.
- Savory Pairings: Don't underestimate its savory potential! Apricot jam pairs beautifully with cheese boards, especially with creamy brie or sharp cheddar. It can also be brushed as a glaze over roast pork, chicken, or duck during the last few minutes of cooking, adding a delicious sticky-sweet crust. Try it in a gourmet grilled cheese sandwich with some prosciutto.
Easy Variations to Explore:
Once you've mastered the basic apricot jam recipe, feel free to experiment:
- Apricot & Vanilla Jam: Add ½ teaspoon of vanilla extract or the seeds from one vanilla bean just before jarring for a warm, aromatic depth.
- Apricot & Orange Zest: Grate in the zest of one orange along with the lemon juice for an extra layer of bright citrus complexity.
- Spiced Apricot Jam: A pinch of ground cinnamon, ginger, or a couple of crushed cardamom pods simmered with the apricots can add a comforting warmth. Remove whole spices before jarring.
- Apricot & Almond Jam: A few drops of pure almond extract stirred in at the end complements the apricot's stone fruit notes beautifully.
- Chunky Apricot Jam: For a more rustic texture, you can leave some of the apricot pieces larger or even gently mash them rather than fully breaking them down during cooking.
Expert Tips for Jam Making Success
- Choose Your Fruit Wisely: Opt for ripe, fragrant apricots that are slightly soft. Avoid overly hard or bruised fruit.
- Don’t Overcook: While reaching the setting point is crucial, cooking the jam for too long can result in a darker colour and a less fresh, more caramelized flavour. Stick to the wrinkle test or thermometer.
- Lemon is Your Friend: The lemon juice is non-negotiable for both proper setting and a bright, balanced flavour profile.
- Sterilization Matters: Proper jar sterilization is paramount for safe, long-term storage of your jam.
- Listen to Your Jam: Pay attention to the sound and smell of the jam as it boils. A rapid, frothy boil indicates it's cooking vigorously.
Storage & Shelf Life
Unopened, properly sealed jars of your old-fashioned apricot jam can be stored in a cool, dark pantry for up to a year. Once opened, always store your jam in the refrigerator and consume it within two to three weeks to ensure the best quality and safety. Remember to always use a clean spoon when serving to prevent contamination.
There is immense satisfaction in crafting something delicious from scratch, and this old-fashioned apricot jam recipe offers just that. With its irresistible flavour, stunning colour, and simple ingredients, you’ll be making batches of this golden goodness for years to come. Enjoy the sweet rewards of your labour, and share the taste of sunshine with friends and family!
